Case 1
- Introduction
- Causes of Defects
- Good Practices
- Standards
- Maintenance and Diagnostics
- Remedial
- Similar Cases
- References
Good Practices
Dampness
Design
The material selection for exposed surfaces, and their regularity and surface texture should be detailed to
prevent moisture retention. Areas prone to high moisture exposure shall be made impervious with adequate waterproofing systems. Also such surfaces should be without impediments (e.g. built-in cabinet, fixed equipment/services) to ensure access for inspection and ease of cleaning. Access for adequate cleaning should be provided in accordance with BS 8221- 1, SS 509-1 or equivalent. Ventilate to prevent moisture retention on floor/wall/ceiling. For natural ventilation, opening > 5% of floor area. For mechanical ventilation, air exchange rate > 20 air changes per hour, in accordance
with “CP on Environmental Health”.
Construction
Exterior surfaces of porous building material (e.g., cellulose, brick, stone, cement rendering) can develop biological growth. Avoid such growth as much as possible with treatments of anti-algae/anti-fungus solutions and allow to dry before painting/repainting (SS 652: B.5.2.1). Improve ventilation and remove sources of dampness to dry out the substrates as thoroughly as possible during painting works in
accordance with BS 6150, SS 542 or equivalent. Ensure access ducts are connected to the mechanical
ventilation system. The exhaust system shall dispel the air directly outdoors.
Paint
Material
Select an appropriate paint which has algae-resistance. There are many paint systems available in the industry [8-9].
Quality Control
Checklists for paint work can be used as means to enhance onsite workmanship quality [9].
Concreting
Material
Lower potential shrinkage is possible using cement with specific limits on some of its properties such as:
- low water content as possible
- maximising coarse aggregate content
- use of aggregate and cement with low shrinkage characteristics [10]
- use of a suitable admixture, that shrinkage can be controlled [11]
Construction
To control the occurrence of concrete cracks, the following advice is offered [1,12]
- Prepare the site properly and identify the position of control joints.
- Ensure to provide correct placement of steel reinforcement [13-14] to control cracks resulting from shrinkage and thermal movement.
- Ensure that formwork is level, firm and properly fixed in place [15].
- Ensure that the concrete mix is appropriate for construction. Most importantly, concrete should be mixed properly. Add only enough water to obtain an even and workable mix during mixing. If the concrete is ready mix, it shall comply with [16].
- Check for quality of concrete before placing [17]. e.g. water cement ratio, slump test, etc.

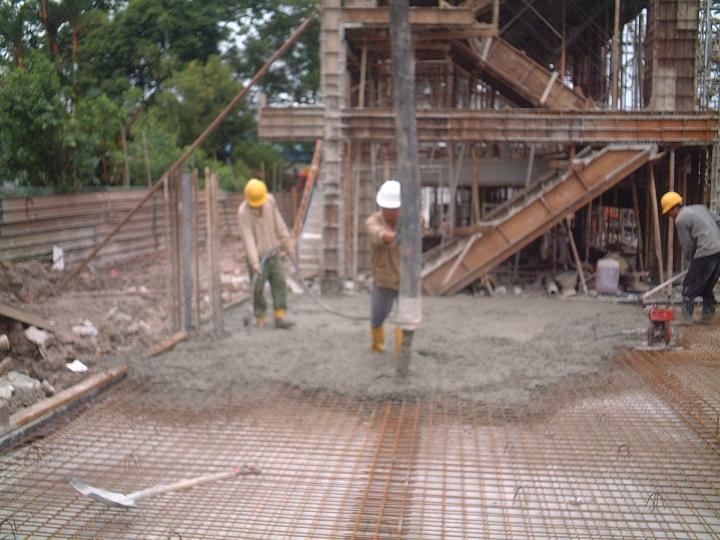
- Place the concrete carefully. If concrete is placed directly from a truck or concrete pump, place concrete vertically into position. DO NOT allow the concrete to fall more than 1 to 1.5 metres (Figure 4).

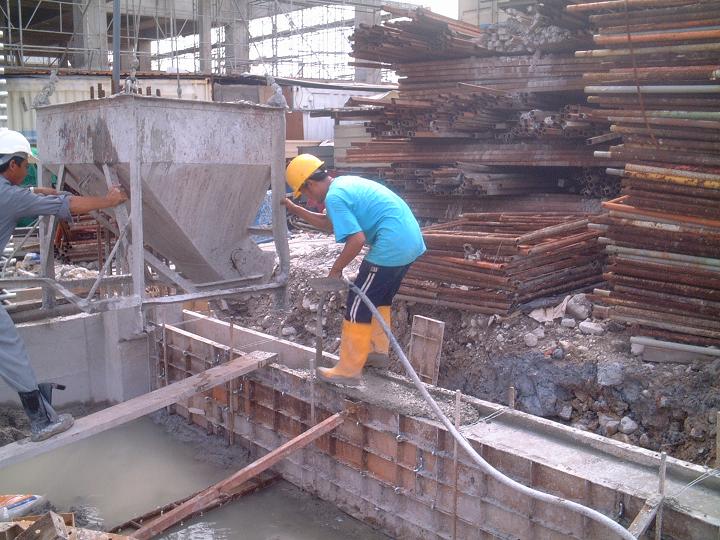
- Ensure thorough compaction of the concrete during placement (Figure 5).
- Finally, concrete should be properly cured.
Waterproofing
Construction

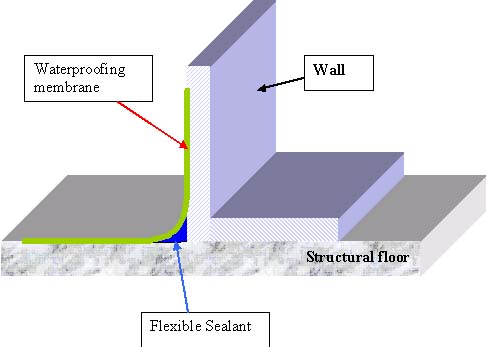
To minimise water leakages in wet areas, it is a good practice to cover the entire floor with waterproofing membrane and turn up to a minimum height of 300mm at the walls [18].
Quality Control
- Substrates should be inspected and prepared in accordance to the manufacturer’s recommendations prior to the execution of the waterproofing system.
- Waterproofing products should be sealed and delivered in original packaging. All materials should be protected from the weather and stored in a dry and secure place.
- Greater supervision during construction and a skilled labour force are important so as to control and improve the workmanship quality of a product.
- Checklists for the inspection of waterproofing work can be used as means to inspect the onsite workmanship quality. A continual check should be made on the amount of material that has been used and the area covered to ensure that the recommended coverage rate is being achieved.
- The membrane should be tested for water-tightness after completion of the application. Make sure the membrane has cured properly before carrying on the test (Table 2).
| System | Time |
| Rubber-based systems | 1 hr to 72 hrs |
| Acrylic based systems | 48 hrs for total system |
| Polyurethane systems | 24 hrs to 72 hrs |
| Cementitious systems | 1hr to 2 hrs and flood test within 24 hrs |
Table 2: Curing Time