Case 1
- Introduction
- Causes of Defects
- Good Practices
- Standards
- Maintenance and Diagnostics
- Remedial
- Similar Cases
- References
Remedial
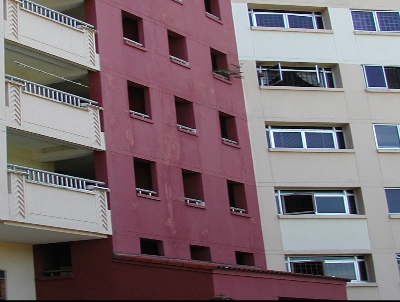
Where only very fine cracks are present and the works appears to be otherwise sound, coating the whole of the plastered finish with a cement paint or coating or other decorative treatment maybe adequate to close and conceal cracks.
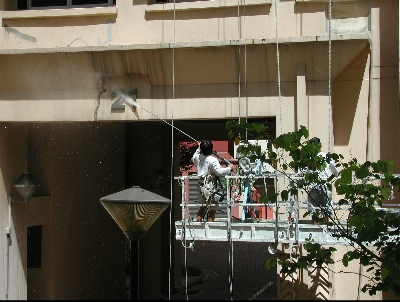
For slightly wider cracks, it can filled up with repair mortar before repainting the entire wall. See repair procedure below.
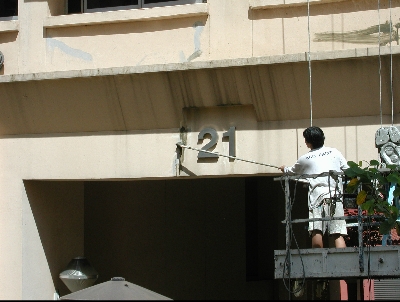
Cracks which form in the plastered finishes and do not penetrate into the background can sometimes be attributed to failure of adhesion adjacent to the crack. Area around the crack should be tested for hollowness by tapping the surface. If hollowness is not detected, the materials on both sides of the crack should be cut out to a total width of not less than 75 mm.
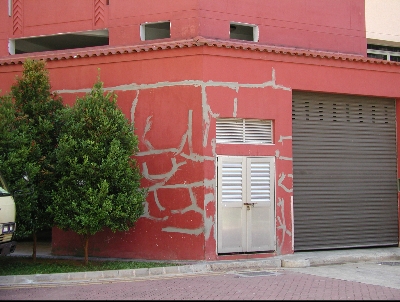
Any material that develops hollowness loses its adhesion during cutting out should also be removed. The edges of the cut materials should be left slightly undercut and the background well brushed and washed to remove any dust or loose material. A hand-held power tool with a carborundum or diamond shaped abrasive disk is useful for the operation and minimize the risk of producing further hollowness.
After the background has been cleaned, a bonding agent should be applied to its surface. Next replastering work is carried out with the colour and the texture of the new plaster matching as closely as possibly to the existing work.
If hollowness is detected at area around the crack, it shall be noted that the cause of the hollowness be determined and repaired. Defective design or detailing may allow water to penetrate which can lead to expansion of the background due to the action of the sulphates salts. Loss of adhesion may also arise from incorrect composition of the plastering in relation to the background.