Case 2
- Introduction
- Causes of Defects
- Good Practices
- Standards
- Maintenance and Diagnostics
- Remedial
- Similar Cases
- References
Good Practices
Design
Design to accommodate differential movements of the structure and provide movement joints to mitigate differential settlement or shrinkage of cracks. Recommended minimum wall joint width of 3 mm
(5 mm preferred) and minimum floor joint width of 5 mm. Spacing of movement joints on the internal
wall should be 5 m to 6 m horizontally and vertically, while space for the internal floor should be 6 m to 7 m in all directions in accordance with BS 5385-1, SS 665 or equivalent. Specification of less water-permeable tiles for wet areas. Recommend testing of tiles against design specifications before mass installation in accordance with ISO 10545-1 or equivalent. Cracks at tile joints are commonly due to the settling process, and thus requires pointing in accordance with BS 5385-3 or equivalent.
Construction
Tile fixing method should be guided in accordance with SS 665, BS 5385-1, BS 8000-11 or equivalent,
including:
-Tiles should be cut and handled with care during application;
-Tiles should be soaked to relieve their dry condition before laying;
-Screed should be properly cured, rendered and cleaned;
-Tiles should not be laid over cracks or be subjected to any loading; and
-Tiles should be properly tapped in place, and have their surfaces wiped after tiling.
Tiles should resist cracking from soaking or transverse elongation. They should be of a thickness adequate for resisting cracks from direct impact. Use a proper key at the back of the tiles for good bonding.
Rendering
Construction

- The wall surface should be flat and even to receive the tile mortar rendering. All misaligned walls, honeycombed, or badly formed surfaces have to be rectified before the laying of the rendering.
- The mortar mix for wall rendering shall be produced with pre-packed mortar. Pre-packed mortar is a dry product of cement, sand, and performance-enhancing additive. Water should be added to the mixture as recommended by the manufacturer to make the mix slurry. Proper mixing of water and dry mixture should be carried out using mechanical mixers prior to rendering. In this regard, workers must be trained in controlling the addition of water, mixing time, and pot life of the mix.
- During laying, mortar packs should be used to control the thickness and surface evenness of the mortar, and a plumb or level should be used to check the levelness of the surface.
- The render should be air-cured for at least 2 days to achieve maximum strength. Water mist can be sprayed in the first two days to allow the cement to hydrate. However, the render should be air-cured for at least 2 weeks, before tiles are installed.
Quality Control
When the surface is checked with a 2m straight edge laid on the surface, ensure that any gap under the straight edge is not greater than the following:
- 1. 3mm for tiles to be fixed with adhesive
- 2. 6mm for tiles to be fixed with cement sand mortar
Tiling
Design
- Movement joints extending through the tiling and the substrate should be installed to accommodate stresses due to shrinkage, deflection, and moisture. The maximum spacing and width of movement joints as recommended in SS CP 665 are:
- Internal wall – horizontal and vertical directions: 5 to 6 meters
- Wall joint width: minimum 3mm, preferred 5m
- Internal floor: 5 to 7 meters in all directions
- Floor joint width: minimum 5mm
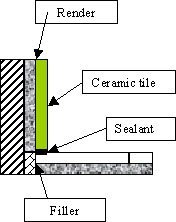
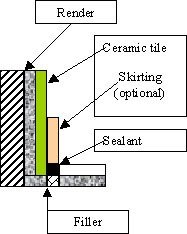
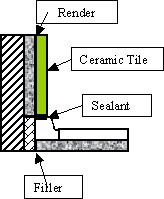
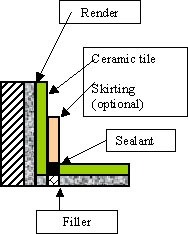
- Some perimeter joint designs are illustrated in Figures 2a – 2d [2].
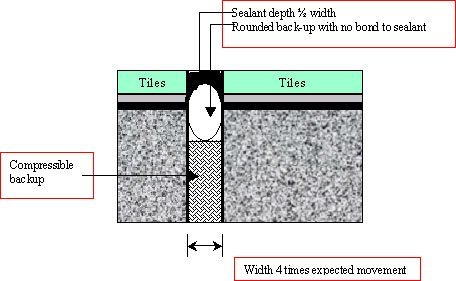
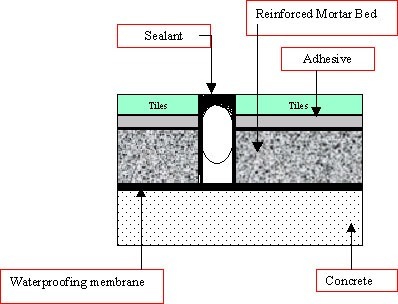
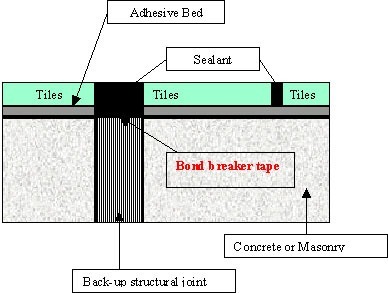
Source: SS CP 665 – Code of practice for ceramic wall and floor tiling
- These spacing and the width of the joints should be consistent with the movement joints provided in the substrates (Figures 3a -3c). In no circumstance shall it be too narrow to allow free movement. This is to ensure consistent differential movements throughout the system.
- Design for correct pointing width between tiles is rather important since pointing helps to accommodate the movement of tiles due to temperature change, dimensional instability, or moisture absorption. Table 1 shows the recommended widths for various types of tiles and grouts [6].
| Polymer-modified grout (mm) | Cementitious grout (mm) | Unsanded grout (mm) | ||||||||
| 1.5 | 3 | 6 | 9 | 1.5 | 3 | 6 | 9 | 1.5 | 3 | |
| 25x25x6mm | 4.8 | 2.6 | 1.6 | 1.3 | 5.8 | – | – | – | – | – |
| 50x50x6mm | 8.8 | 4.8 | 2.6 | 1.9 | 10.4 | – | – | – | – | – |
| 106x106x7.5mm | 14.9 | 7.7 | 4.0 | 2.8 | – | – | – | – | 42 | 26 |
| 100x200x12mm | 11.7 | 5.9 | 3.1 | 2.1 | 9.8 | 5.2 | 3.7 | 2.7 | – | – |
| 100x200x30mm | 4.8 | 2.5 | 1.3 | 0.9 | – | – | – | – | – | – |
| 150x150x7.5mm | – | – | – | – | – | – | – | – | 58 | 30 |
| 150x150x9mm | 17.5 | 8.9 | 4.6 | 3.2 | 19.2 | 10.0 | 7.0 | 5.5 | – | – |
| 150x150x12mm | 13.1 | 6.7 | 3.5 | 2.4 | 14.4 | 7.4 | 5.2 | 4.0 | – | – |
| 200x200x9mm | 23.0 | 11.8 | 6.0 | 4.0 | 25.4 | 13.0 | 9.0 | 7.0 | 65 | 33 |
| 300x300x9mm | 34.7 | 17.5 | 8.9 | 6.0 | 37.7 | 19.0 | 13.0 | 9.8 | 96 | 49 |
| 325x325x9mm | – | 18.9 | 9.6 | 6.5 | 40.7 | 20.7 | 14.0 | 10.8 | – | – |
| 400x400x9mm | – | 23 | 11.8 | 8 | 50.0 | 25.4 | 17.0 | 13.0 | – | – |
| 600x600x9mm | – | 34.6 | 17 | 11.8 | 74.3 | 37.0 | 25.4 | 19.2 | – | – |
Table 1: Recommended widths for tiles and grout
Source: www.laticrete.com
Materials
The tiles shall be fully tested to meet the performance requirements stipulated in the contract before mass installation [7-10].
Construction
Following precautions can be followed up to prevent cracking of tiles during the application,
- Clean the surface thoroughly to remove foreign particles accumulated on the floor. This is to ensure that the bonding of the rendering will not be affected.
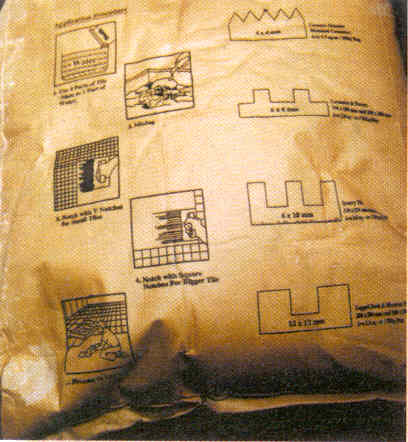
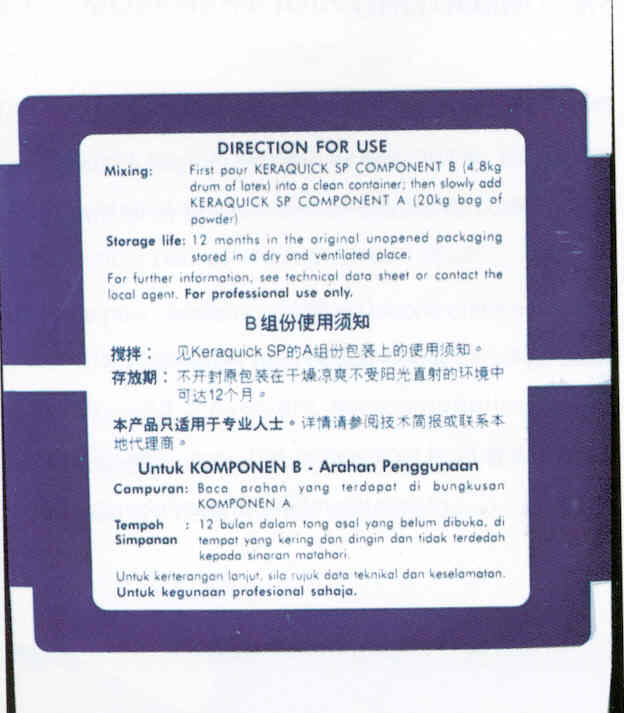
- If the bedding material is ordinary cement mortar (Figure 4a), the surface (render) should be damped to prevent any suction of water from screed/ or render. However, if the bedding material is an adhesive (Figure 4b), the manufacturer’s instructions should strictly be followed. These instructions such as surface preparation, mixing, and application of adhesives are clearly labeled on the packing.
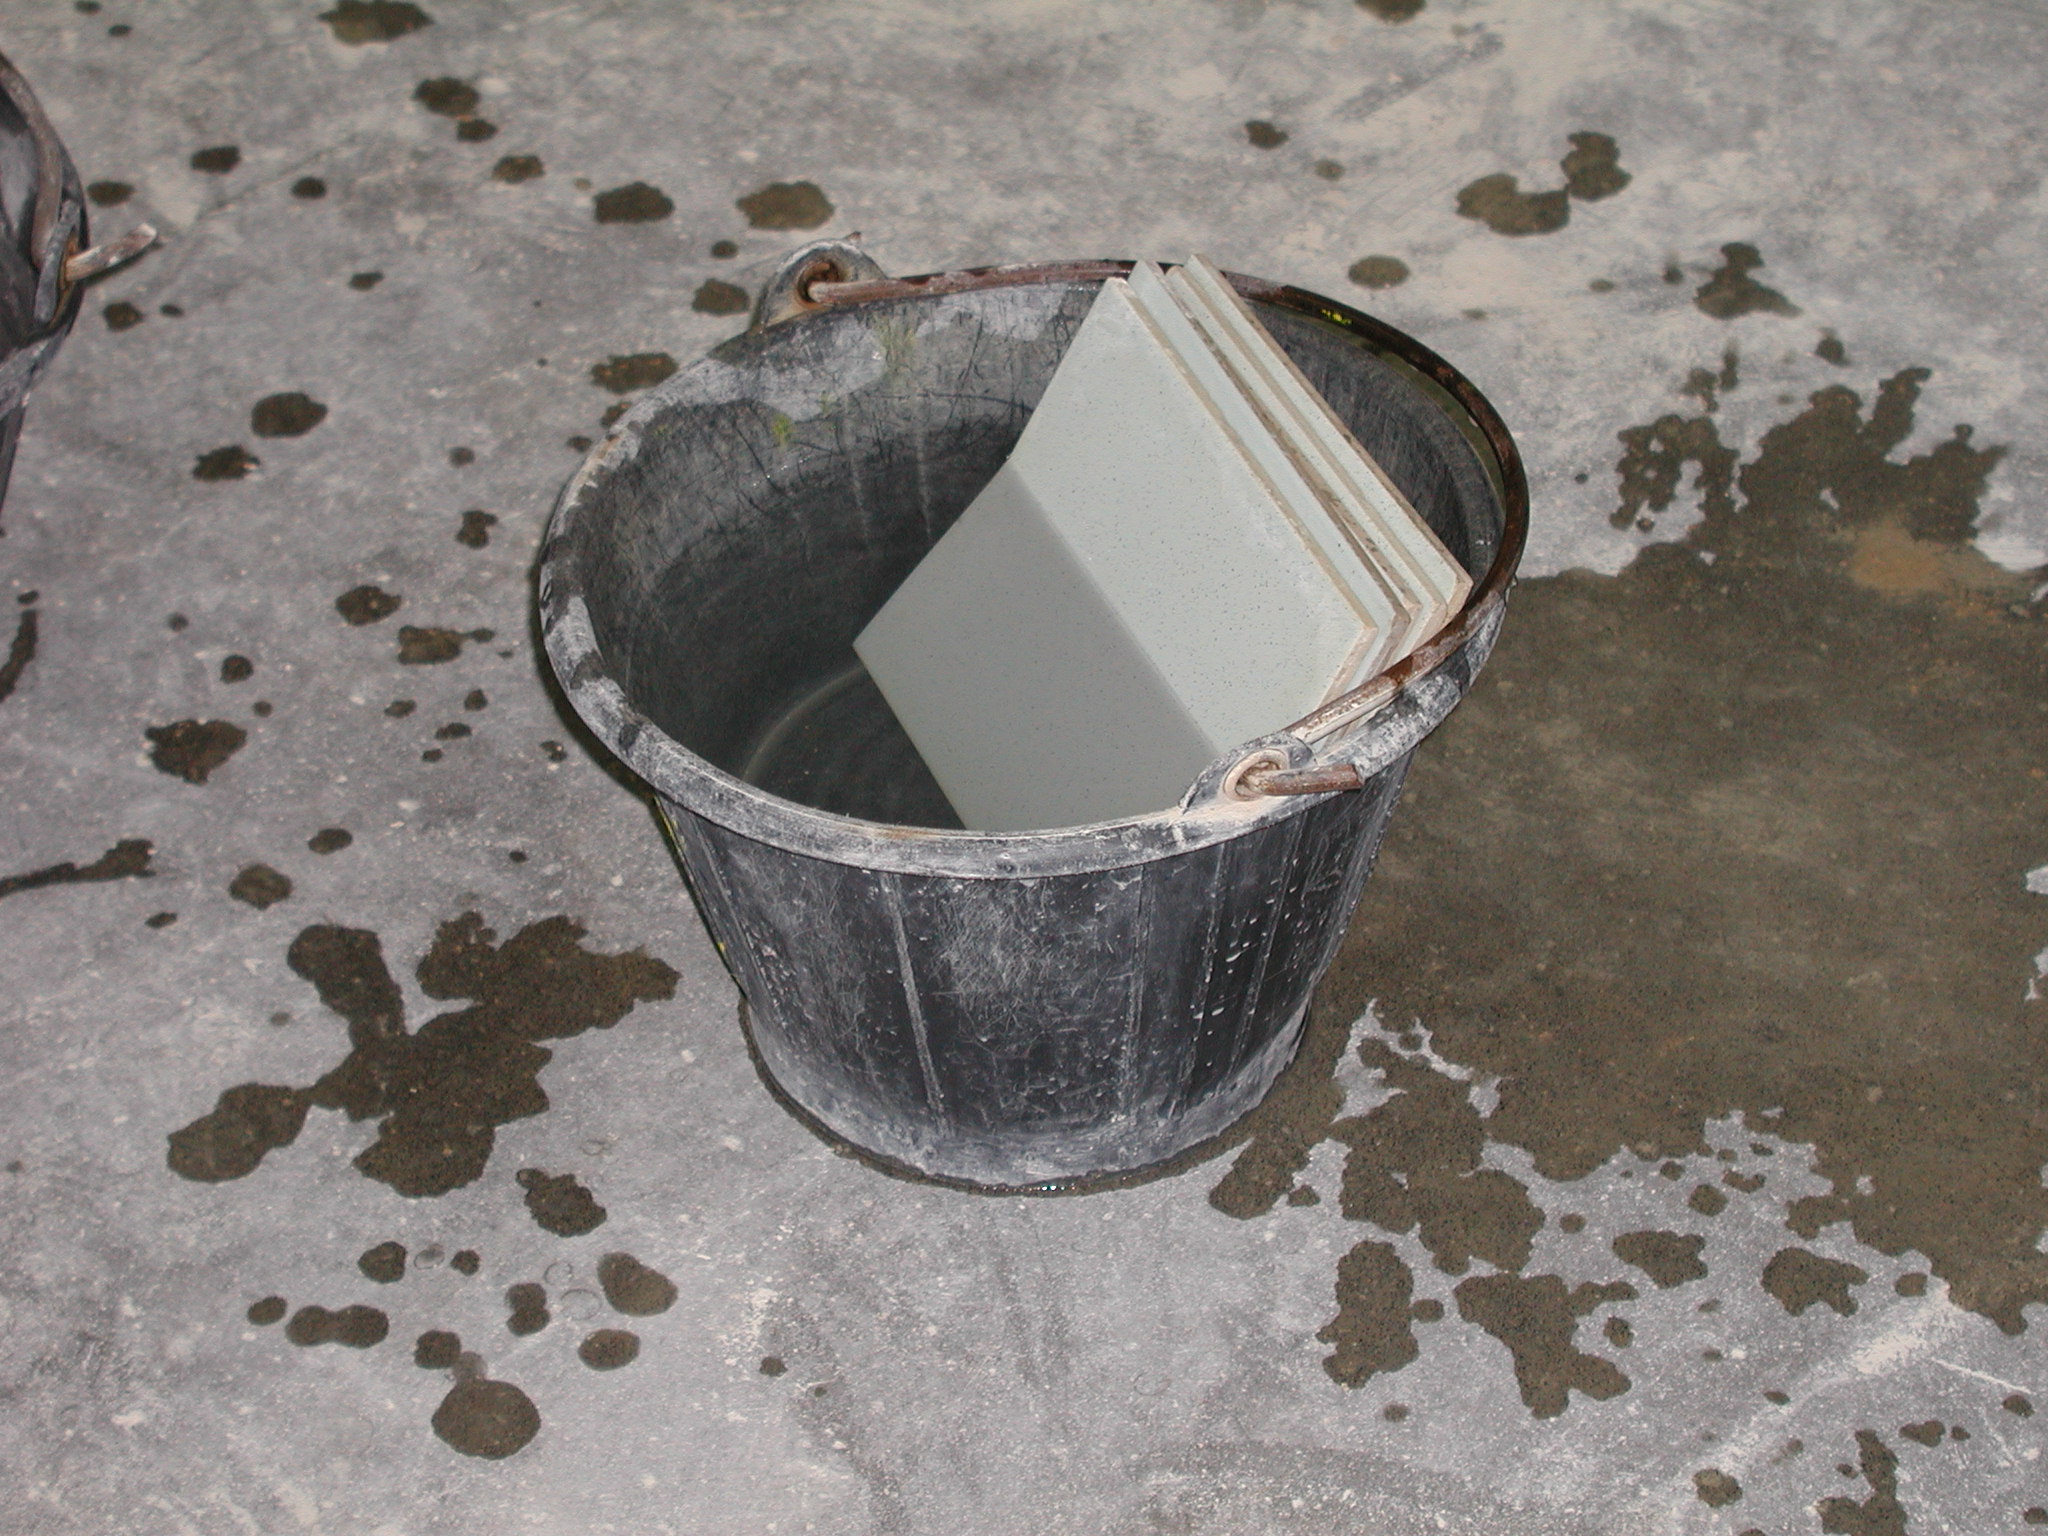
- If the bedding material is cement mortar, porous tiles should be soaked in clean water for 12 hours to surface-saturated-dry (SSD) condition and then, kept vertically to drain off the excess water (Figure 5). This is important to prevent the tiles from drawing water from the cement mortar and to prevent shrinkage cracks from forming. However, glazed ceramic wall tiles should be tested to confirm that soaking would not lead to crazing.
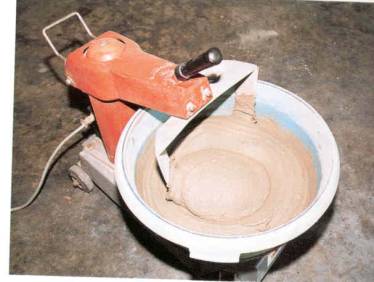
- The bedding mortar or adhesive should be mixed with a mechanical mixture to obtain a uniform mixture (Figure 6).
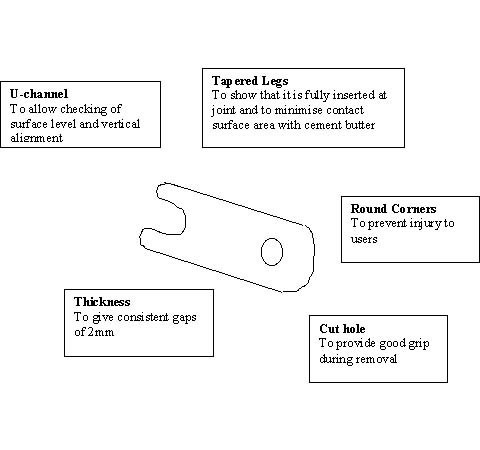
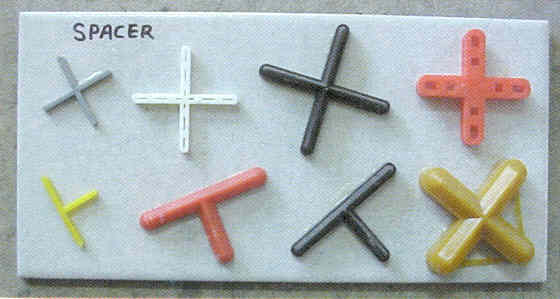
- Spacers should be used to achieve specified and consistent pointing widths (Figure 7). However, ensure that they can be removed easily without causing staining on the tile surface.
Quality Control
The following checks can be used to check the quality of tiling work:
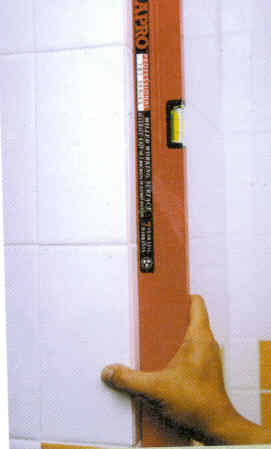
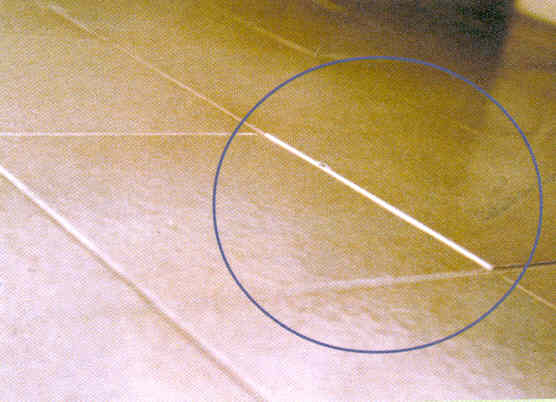
Tolerances for surface unevenness:
|  |  |
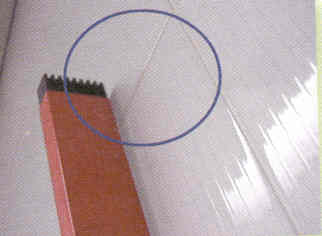
| Interface with other elements
Tile interface with ceiling, window frames, door frames, pipes etc are aligned and consistent | ||
Joints, tonal variations:
|  | 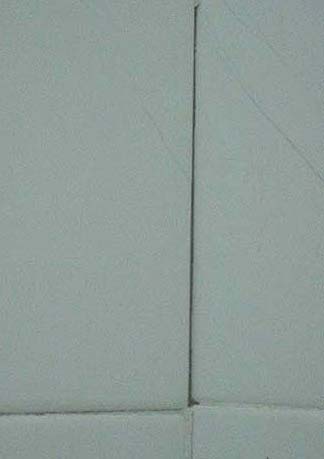 |
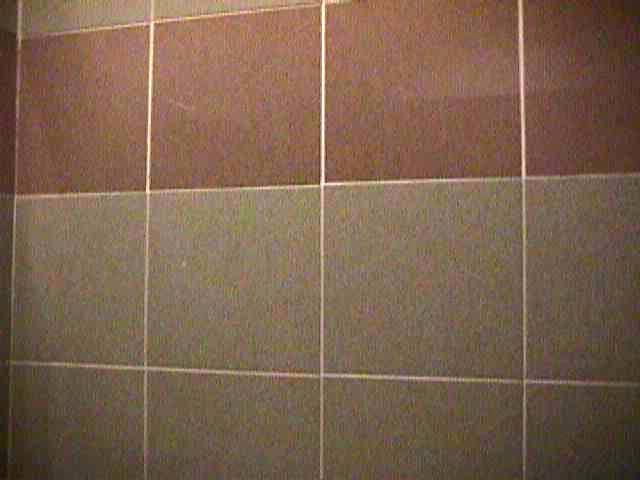 | ||
| Hollowness, chip offs, sharp edges, and crack
The surface is free of chipped, cracked (Figure 11a), and hollow tiles (Figure 11b). | 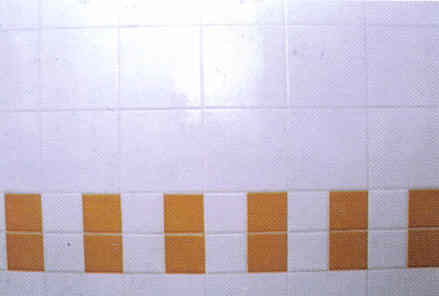 | 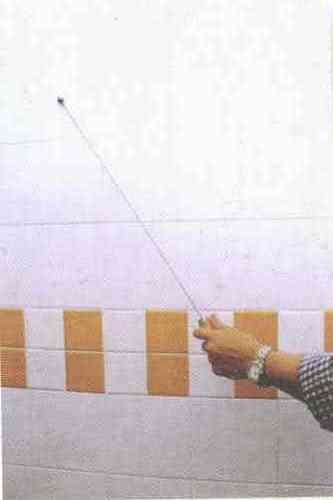 |
| In addition, a checklist for onsite tiling inspection can be used to control tiling work during construction. | ||
Source: BCA 2001 Good Industry Practice-Tiling[11], BS 5385-3: Wall and floor tiling. Code of practice for the design and installation of ceramic floor tiles and mosaics in normal conditions